
If you want to read about the older versions, scroll down further.
I'm renaming it back to the $10 foot pedal instead of the $5 foot pedal. There's more involved here, with a svelter body and the addition of a microswitch, so the price went up.


The dimensions are 2" wide x 5.5" long x 1" tall. No longer is it just a gamepad stuck to a piece of wood, but rather it's just the guts of the gamepad (the circuit board inside the gamepad) inside a small wood box with a microswitch attached to act as the button.
Taking a cue from Apple's Magic Trackpad, the switch is mounted on the bottom of the device. This way it's a flat surface on top, your big toe hugs just one corner of the box, and the switch underneath depresses onto the floor (currently only for use on hard surfaces -- carpet doesn't work) when your big toe applies just the slightest bit of weight.
This version 4.0 is the working prototype which is in testing mode now. I'll keep this page updated regarding modifications, and also when it will be available for sale.
OLDER VERSIONS:
Version 3.3, the $5 foot pedal:

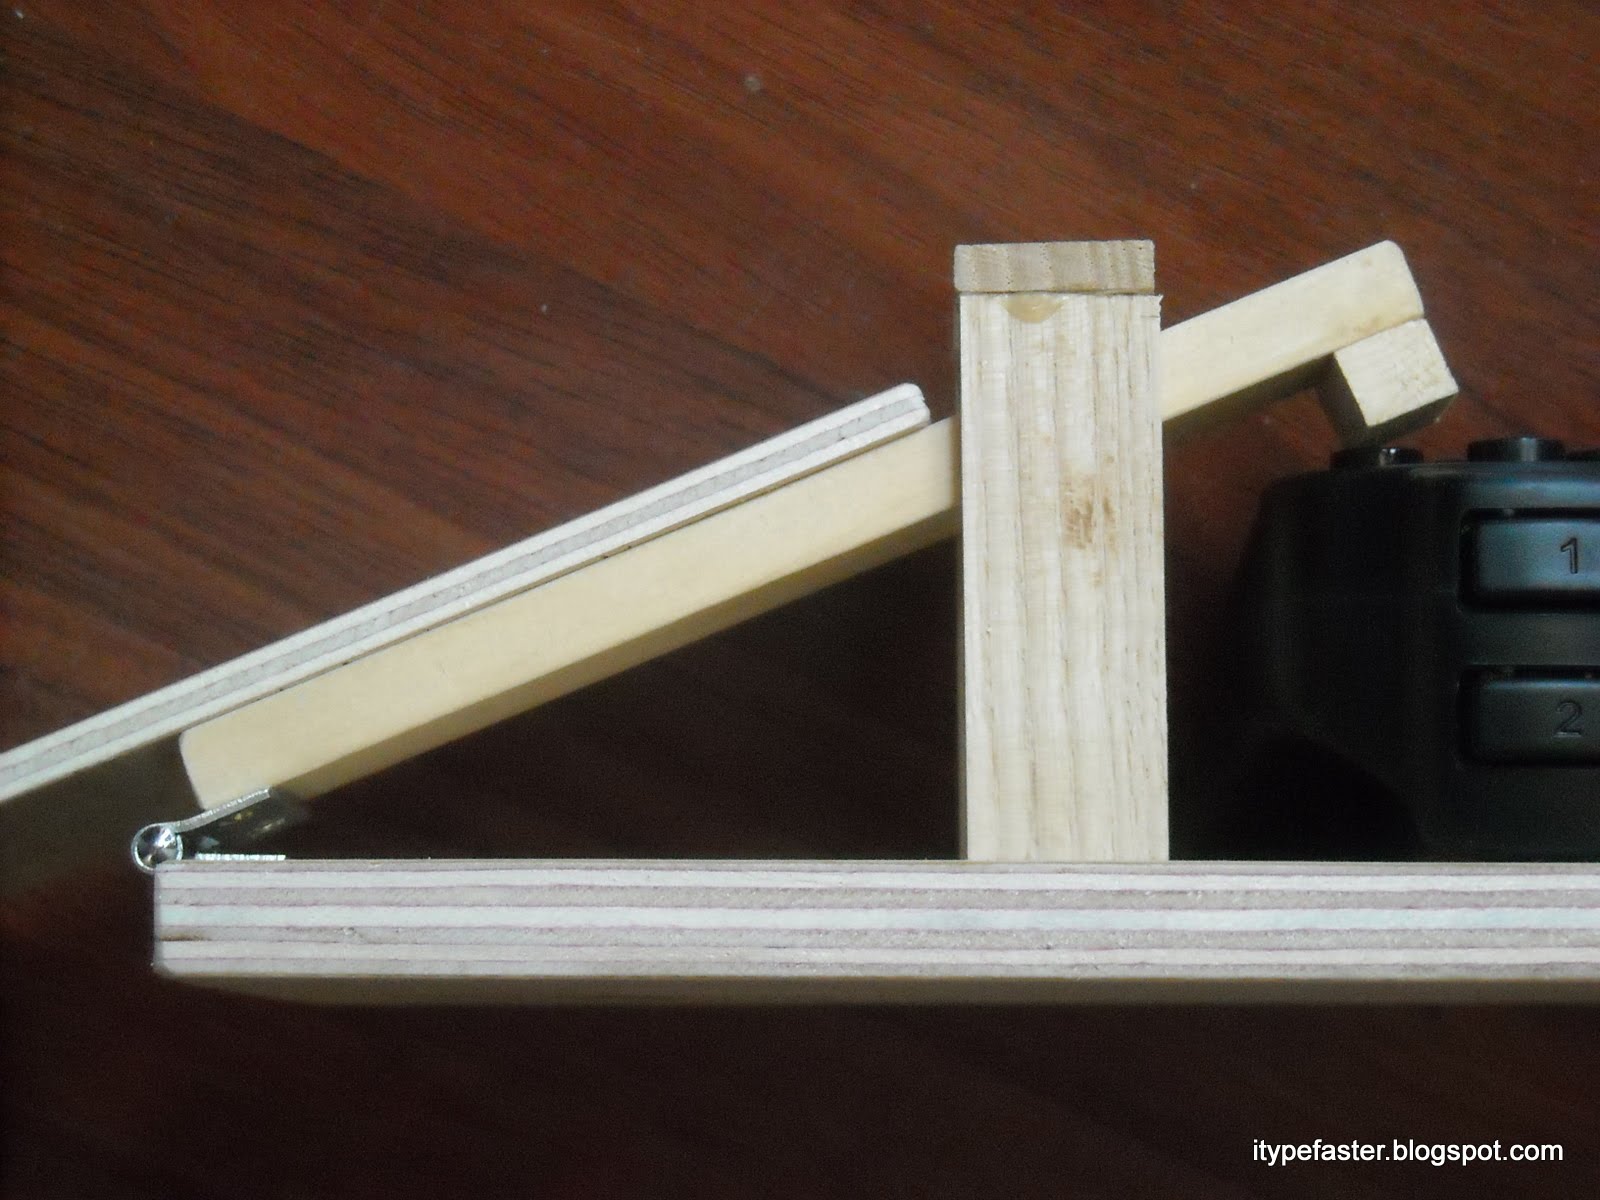
It's $5 because I found a source for $5 game pads. Hinged foot bed. Beefier plywood. Solid wood guide for the plunger so it always hits the go button and doesn't stray.
And now here's the original post with the old pedal:

Yup, $10. No need to go out and spend a ridiculous amount on a so-called Professional Transcription Pedal.
Ingredients:
- Fry's $10 generic USB game pad. Various colors. I chose blue.
- A couple pieces of cardboard-like wooden things. I think it's called hardboard? Don't know where I got them or what they were originally used for, but I'm just fortunate to have a garage woodshop with lots of odds and ends.
- Some blue painter's tape.
- A few pieces of double stick adhesive strips.
- A small block of wood about 1" x 1" x 1".
Step 1: Make a sandwich out of the wood pieces and tape up one end.
Step 2: Insert game pad inside the sandwich.
Step 3: Secure game pad with double stick strips.
Step 4: Pick a button on the game pad, any button will do.
Step 5: Position small block of wood so that the upper sandwich hits the button and secure with tape.
Step 6: Use more tape to secure cable so it doesn't flop around.
Step 7: Plug it into a USB port and test with your software.
I don't bother with reverse or fastforward during transcription, so a three-button contraption is not necessary. This foot pedal does one thing and one thing only: Play until released (with 1.5 second backspace).
Although the top of the pedal is long enough to accomodate a shoe, I only use the very bottom of the pedal and the tip of my toes. It seems to work better if the bulk of the weight of my foot is on the ground and the only thing contacting the pedal is my toes.


It's not pretty, but it works.